Quick Answer
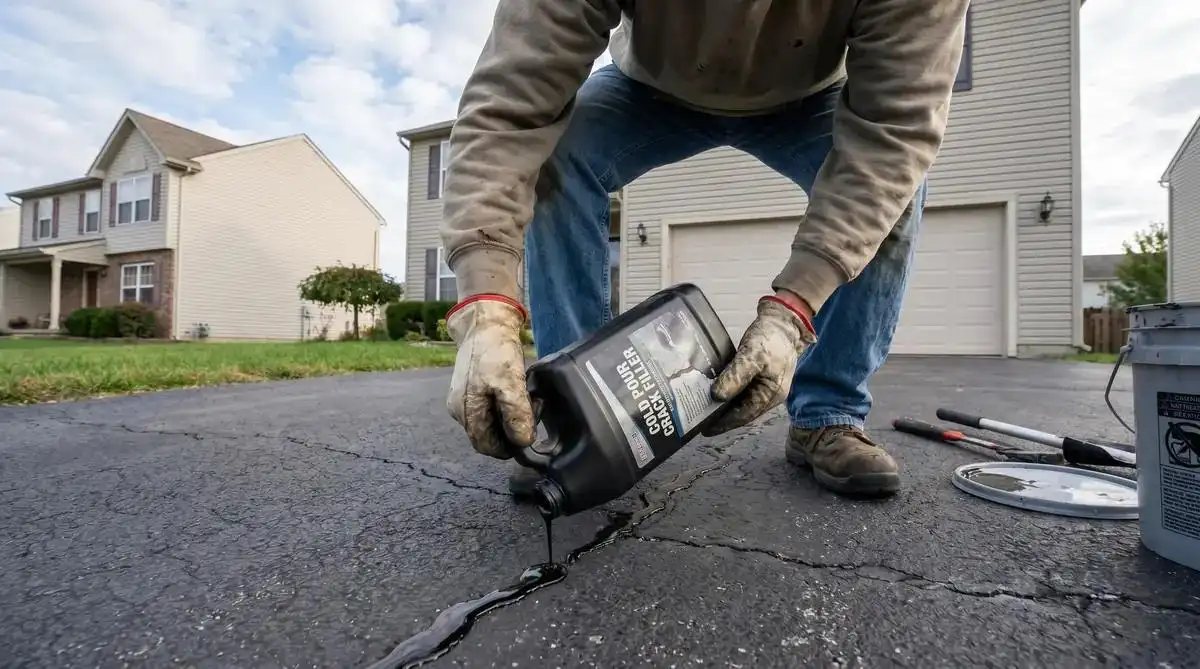
To repair asphalt driveway cracks and potholes, clean out the damage, then match the fix to its size. Fill hairline to half-inch cracks with cold-pour filler and use backer rod for wider ones. For potholes, square the edges, fill with cold patch in 2-inch layers, and compact each layer hard. Work on a dry day above 50°F. Call a pro if you see alligator cracking or a soft, washed-out base.
Small asphalt damage is one of the few paving problems a homeowner can fix in an afternoon. A bottle of filler, a bag of cold patch, and a hand tamper handle most of what a driveway throws at you. Do-it-yourself asphalt repair works well when you pick the right product for the damage and prepare the hole or crack properly. It fails when someone pours filler into a dirty gap or dumps patch into a hole without compacting it.
This guide shows how to repair asphalt driveway cracks and potholes step by step, which materials fit which damage, and the signs that a repair needs a professional, not another bag of patch. If you are also planning a full resurfacing or new installation, our asphalt driveway cost calculator can help you estimate material quantities and project costs before getting quotes.
Identify the Damage First
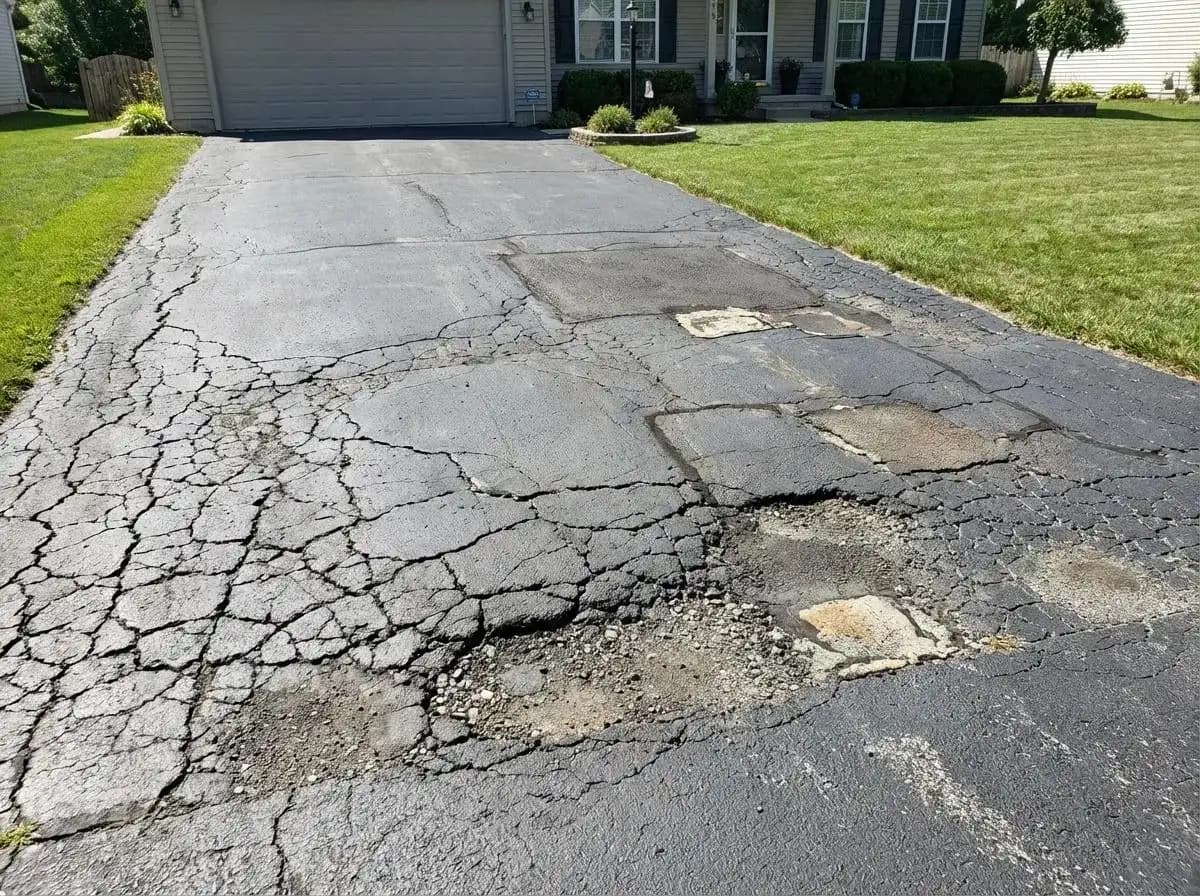
The repair depends on what you are looking at. Walk the driveway and sort each problem into one of these groups.
| Damage | What It Looks Like | Typical Fix |
|---|---|---|
| Hairline crack | Thin surface line under 1/8 inch, often branching | Pourable crack filler or sealcoat |
| Medium crack | 1/8 to 1/2 inch wide | Cold-pour or rubberized filler |
| Wide crack | Over 1/2 inch wide or deep | Backer rod plus filler, or cold patch |
| Pothole | A bowl-shaped hole where asphalt has broken away | Cold patch in compacted layers |
| Alligator cracking | A web of interlocking cracks in one area | Professional cut-out repair |
| Sunken or spongy area | Dips or soft spots underfoot | Base repair, usually a pro job |
Filler and sealer do different jobs. Filler fills the void inside a crack and stays flexible as the pavement moves. A sealer or sealcoat covers the surface and suits hairline cracking and spiderweb patterns. Cracks wider than roughly 1/8 inch need filler, not sealer alone. Understanding how cold mix bitumen works as a repair material helps you choose the right product for each damage category before you open the first bag.
Tools and Materials
You do not need much for a typical repair. Here is what each job calls for.
For Cracks
- Wire brush and a putty knife or screwdriver for cleaning
- Leaf blower or compressed air
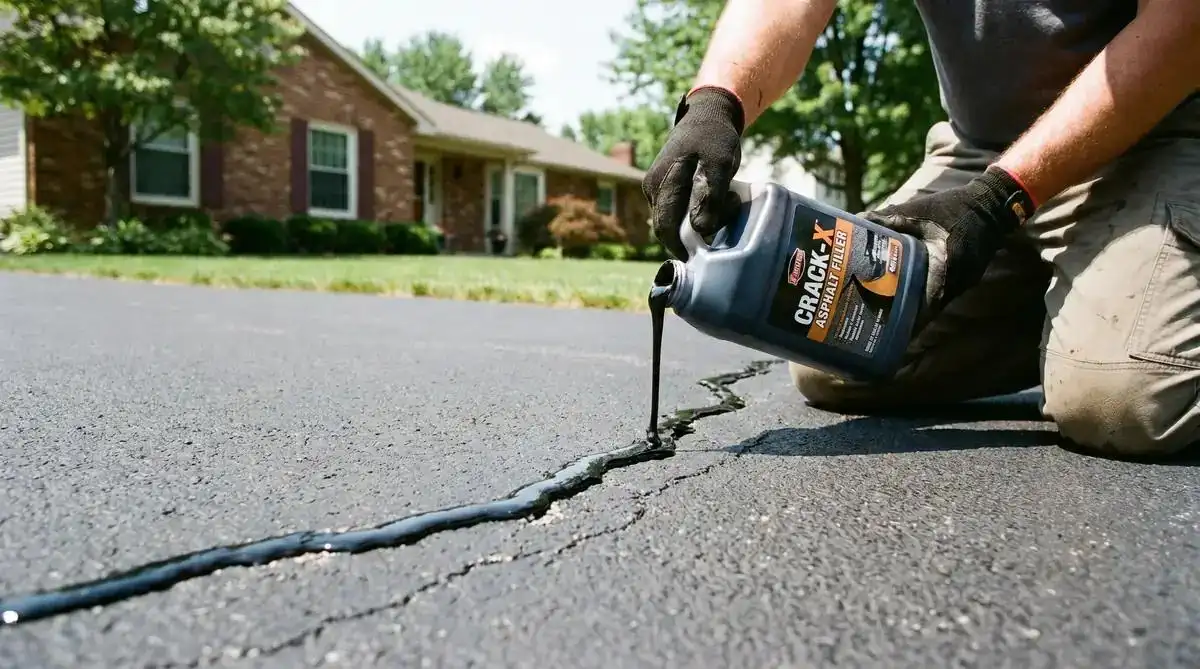
- Cold-pour crack filler (squeeze bottle or jug)
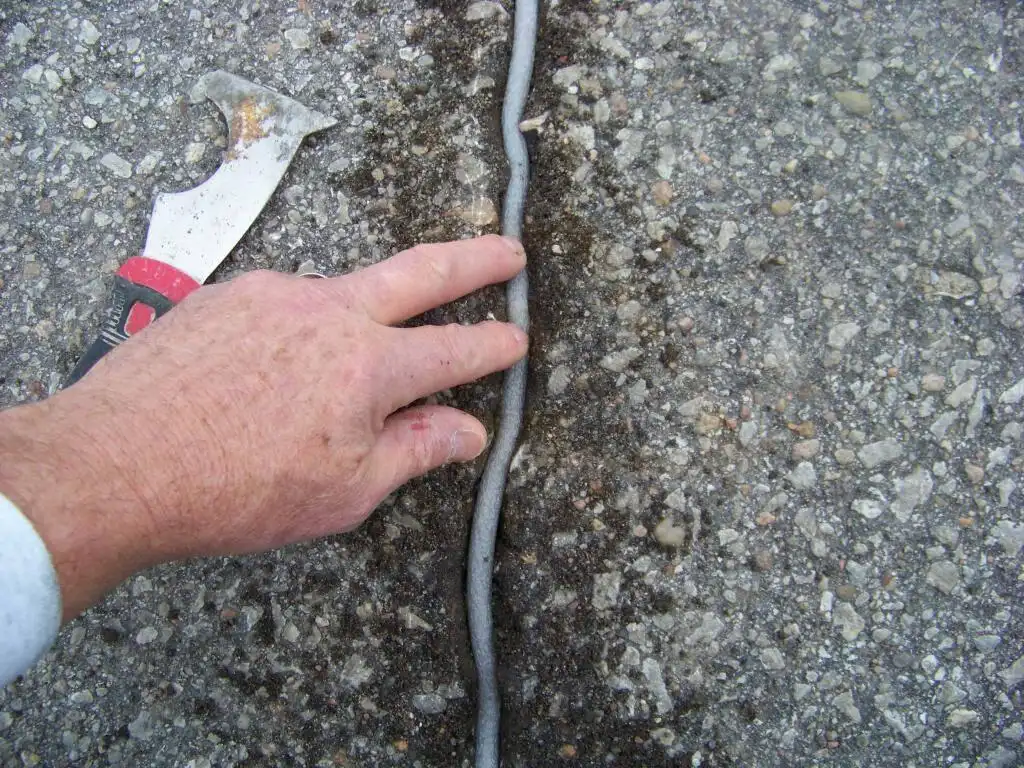
- Foam backer rod for cracks wider than about 1/2 inch
- A squeegee or caulk gun, depending on the product
- Sand for dusting the finished repair
For Potholes
- Cold patch asphalt, enough to overfill the hole slightly
- Crushed angular gravel if the hole is deep
- Hand tamper (8 to 10 pounds) or plate compactor for larger patches
- Square-nosed shovel, chisel or hammer, and a broom
- Asphalt emulsion for a tack coat (optional but useful)
- Work gloves and safety glasses
Cold-pour filler is the beginner-friendly option. Hot-pour rubberized filler lasts longer on moving cracks, but it needs a heated kettle, which most people rent or leave to a contractor.
Pick the Right Day
Crack filler needs a dry crack and mild weather. Aim for a dry day above 50°F, and avoid applying filler when rain is in the forecast within 24 hours. If dew sits in the crack in the morning, wait until the sun dries it or run a hair dryer over the gap for a minute.
Cold patch is formulated to stay workable in cooler weather, and bagged products often say they can be used year-round. It still bonds and compacts better in milder conditions, so follow the label.
How to Fix Asphalt Cracks
Clean the Crack
Dry It
Add Backer Rod to Wide Cracks
Apply the Filler
Dust and Wait
Which Filler for Which Crack
| Crack Width | Product | Typical Lifespan |
|---|---|---|
| Under 1/8 inch | Liquid sealer or sealcoat | 1 to 3 years |
| 1/8 to 1/2 inch | Cold-pour or rubberized filler | About 1 to 3 years |
| 1/2 to 1 inch | Backer rod plus cold-pour or hot-pour | Up to 5 years with hot-pour |
| Over 1 to 2 inches | Backer rod, hot-pour, and sealcoat, or a patch | Often needs professional help |
Product sources disagree on the exact width where cold-pour stops working, with limits quoted anywhere from 1/4 to 3/4 inch. Treat 1/2 inch as a safe working limit and read the label on the product you buy.
How to Repair Potholes in an Asphalt Driveway
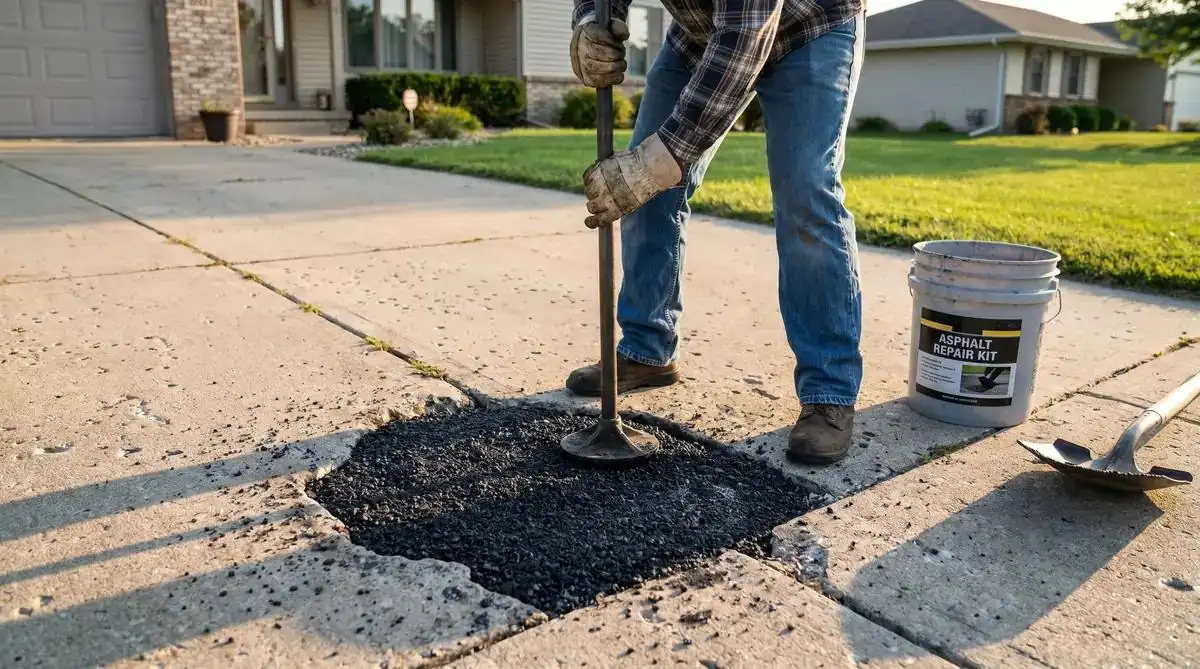
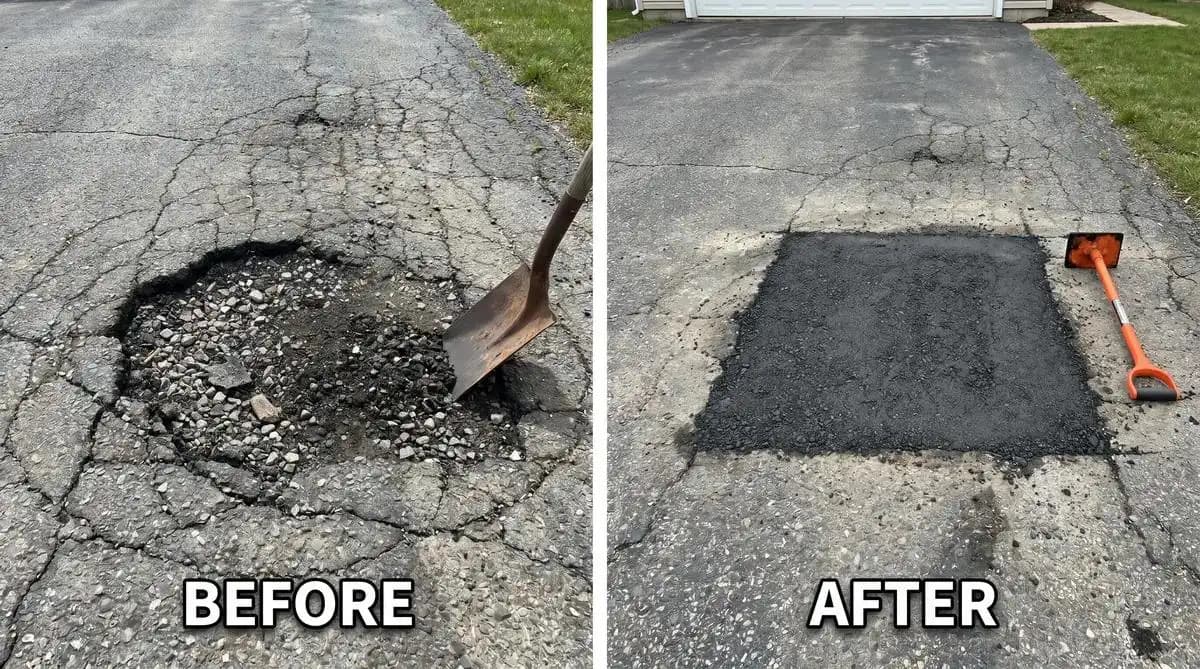
A pothole patch lives or dies on preparation and compaction. The steps below also answer how to patch a hole in a driveway of any shape. If you have recurring potholes or want to estimate the material you will need, the free Bitumen Calculator can help you quantify patch material before you head to the store.
Clean Out the Hole
Square the Edges
Fill Deep Holes with Gravel
Add a Tack Coat
Fill in Layers and Compact
Overfill Slightly and Finish
Key takeaway: Cold patch cures through compaction and time under traffic. A patch that was tamped well can hold for months to a few years, depending on traffic, drainage, and weather.
Cold Patch vs Hot Mix vs Crack Filler
Picking the right material for each job is as important as the technique. Here is how the three main options compare.
| Material | Best For | Skill Level | Lasts |
|---|---|---|---|
| Cold-pour filler | Hairline to 1/2 inch cracks | Beginner | About 1 to 3 years |
| Hot-pour rubberized filler | Moving cracks with clean edges | Pro or rental kettle | About 3 to 7 years |
| Cold patch | Potholes, wide cracks, small failed areas | Beginner | Months to a few years |
| Hot mix asphalt | Permanent patches and larger repairs | Professional | Years, often a decade or more |
Cold patch is a repair material, not a paving material. For the full story on how it is made, how it behaves differently from hot mix, and when to use each type, see our Cold Mix Bitumen guide.
Common Mistakes That Ruin a Repair
When DIY Is Not Enough
Surface products fix surface damage. Call a paving contractor when you see any of these warning signs.
For a recurring pothole, the real fix is usually digging out the failed area, replacing and compacting the base, and then patching with hot mix. This is where understanding proper asphalt pavement layer thickness becomes important — a base that was too thin from the start is prone to early failure regardless of how well the surface is maintained.
After the Repair: Curing and Sealcoating
Keep traffic off fresh filler until it has cured per the label, which ranges from a few hours to 72 hours. A cold patch can usually take light traffic soon after compaction, though sharp wheel turns on it are best avoided for the first few days.
Once every repair has cured, sealcoating the whole driveway protects the repairs and the surrounding asphalt from UV degradation, water infiltration, and oil damage. Our asphalt driveway sealcoating guide covers the right timing, material options, application technique, and how often to reapply. If oil has stained the area you are patching, clean the oil spill from the asphalt surface before you apply patch or filler — patch material and filler bond poorly to oily surfaces.
How Much Does DIY Asphalt Repair Cost
Most DIY crack and pothole repairs cost roughly $10 to $60 in materials. A bottle of pourable crack filler runs a few dollars to around $12, and cold patch for a pothole typically costs $30 to $60 once you add gravel for a deep hole. A hand tamper is a one-time purchase at $20 to $40, and a plate compactor can be rented for larger patches.
Professional pricing varies widely by region and scope. For anything beyond spot repairs, get at least two quotes. If you are weighing whether to repair versus resurface, our bitumen driveway cost guide covers contractor pricing by country and project size, which gives you a useful baseline before accepting a quote.
Rough DIY Cost Breakdown
| Item | Typical Cost | Notes |
|---|---|---|
| Cold-pour crack filler (1 bottle) | $5 to $12 | Covers roughly 30 to 50 linear ft of 1/4-inch cracks |
| Foam backer rod (10 ft roll) | $3 to $8 | For cracks over 1/2 inch wide |
| Cold patch (50 lb bag) | $15 to $30 | Covers roughly 1 sq ft at 2 inches deep |
| Crushed gravel (for deep holes) | $5 to $15 bag | Reduces cold patch needed in deep potholes |
| Hand tamper | $20 to $40 | One-time purchase, reusable |
| Plate compactor rental | $50 to $100/day | For multiple or large patches |
Conclusion
Most asphalt driveway damage is a straightforward DIY job when you match the product to the problem. Pourable filler handles cracks up to about 1/2 inch; backer rod and filler handle wider ones; and cold patch in compacted 2-inch layers handles potholes. Clean and dry surfaces, square edges, and thorough compaction decide how long a repair lasts.
Alligator cracking, spongy ground, and potholes that return mean the base has failed — and that needs a contractor. Once the repairs cure, sealcoating the whole driveway protects your work and extends the life of the surrounding pavement significantly.
Want to estimate quantities and costs for a larger project? Use our free Bitumen Calculator Online to get accurate material estimates before committing to a contractor quote.
Frequently Asked Questions
How do I fix cracks in an asphalt driveway?
Clean the crack with a wire brush and blow out the dust, let it dry, then fill it with cold-pour filler. Add foam backer rod first if the crack is wider than about 1/2 inch. Fill slightly above the surface, dust with sand, and let it cure.
What is the best way to patch a hole in a driveway?
Clean the hole, cut the edges square, fill deep holes with crushed gravel, then add cold patch in layers of 2 inches or less. Compact each layer with a tamper, overfill slightly, and compact the final layer.
How wide a crack can I fill myself?
Cold-pour filler works on cracks up to about 1/2 inch. Cracks up to 1 inch usually need backer rod plus filler. Wider cracks often point to base movement and may need a patch or professional repair.
Is cold patch a permanent fix for potholes?
Cold patch is a temporary to semi-permanent repair. A well-compacted patch can last months to a few years. Permanent repairs use hot mix asphalt, and a pothole that returns means the base needs work.
Can I repair asphalt in cold weather?
Crack filler needs a dry day above 50°F to bond properly. Many cold patch products are made to work in cool weather, but they compact and bond better when conditions are milder.
How long before I can drive on a repaired crack or pothole?
Thin crack sealer can be ready in a few hours, while wide filled cracks may need 48 to 72 hours. A compacted cold patch usually takes light traffic soon after compaction. The label gives exact timing.
Should I repair cracks before sealcoating?
Yes. Fill cracks and patch holes first, let the repairs cure, and then apply sealcoat over the whole driveway. Sealing over open cracks traps moisture and accelerates damage.
Why does my pothole keep coming back?
Repeated potholes in the same spot usually mean the gravel base underneath is holding water or has washed out. Dig out the failed area, rebuild and compact the base, and then patch with hot mix for a lasting fix.

Founder & Web Developer
Nabeel Awan is a web developer and the founder of BitumenCalcPro. His work focuses on web development and building practical online tools, with a strong interest in civil engineering, asphalt, bitumen, pavement construction, and construction technology.