Quick Answer
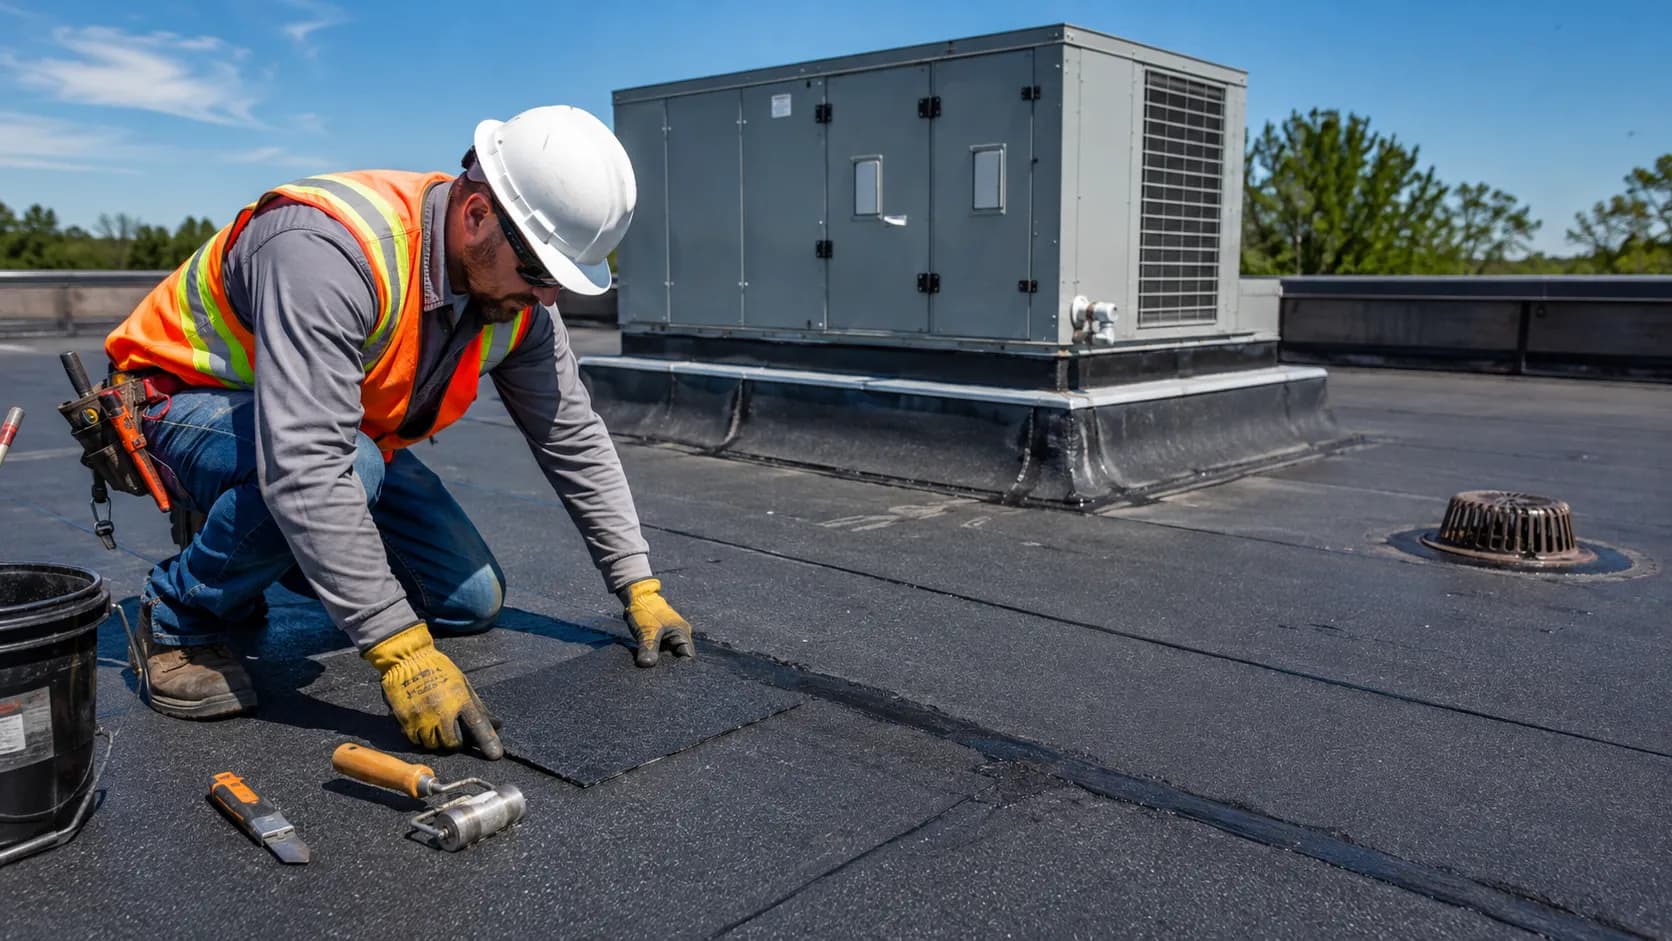
Modified bitumen roof repair usually means fixing blisters, seam failures, punctures, or ponding water on a polymer-modified bitumen membrane. Most repairs involve cleaning the damaged area, cutting out the failed section, and resealing it with compatible lap cement, seam tape, or a heat-welded patch. Small issues caught early are simple DIY fixes; widespread seam failure or repeated leaks usually call for a professional.
Most modified bitumen roof leaks don't come from the membrane itself — they start at seams, flashings, and penetrations that were never fully bonded or have worked loose over years of thermal cycling. Knowing where to look changes how you diagnose a leak and whether a repair actually holds.
This guide walks through every common failure mode, how to spot each one, and what a proper repair looks like — including when a patch won't cut it and a replacement becomes the cheaper option long-term.
What Is Modified Bitumen Roofing?
Modified bitumen is bitumen blended with polymers — usually SBS rubber or APP plastic — to make it more flexible and durable than plain bitumen. The membrane comes in rolls that get installed in overlapping sheets, either heat-welded (torch-down), self-adhered, or set in hot or cold adhesive, depending on the system. For a full breakdown of the material and installation types, see our guide on Modified Bitumen Roofing.
This repair guide assumes you already have a modified bitumen roof and something has gone wrong — a leak, a bubble, a crack, or standing water that will not drain. If you are trying to figure out what type of roofing to install in the first place, the roofing guide above is the better starting point.
Common Modified Bitumen Roof Problems
Most modified bitumen roof issues fall into a handful of recurring categories. Knowing which one you are dealing with determines the fix.
Seam Failure
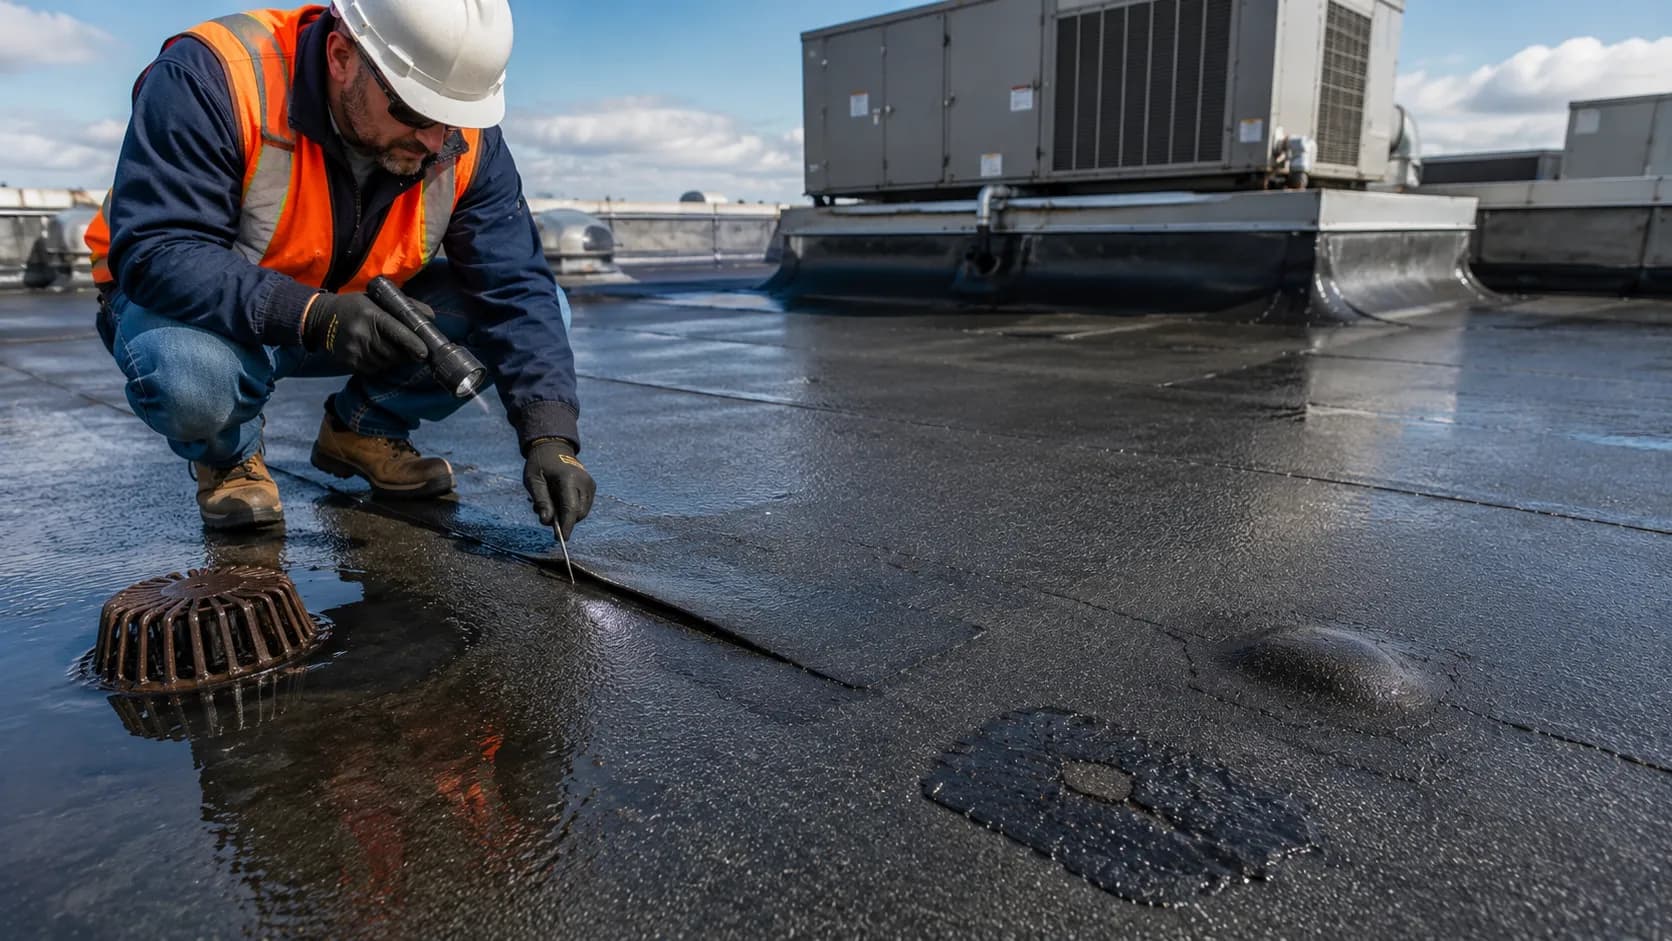
Modified bitumen roofs are built from overlapping sheets bonded together at the seams, either with heat-welding or adhesive. Over time, heat cycling, UV exposure, and repeated expansion and contraction cause these bonds to loosen, lift, or separate. Seam failure is widely considered the single most common cause of leaks on modified bitumen roofs, since a failed seam creates a direct, often invisible, path for water to get underneath the membrane.
Blisters
Blisters form when air or moisture gets trapped between the membrane and the layer beneath it, often from a small amount of moisture present during installation or from water that found its way in through an earlier, smaller defect. When the sun heats the roof, that trapped pocket expands and pushes the membrane up into a bubble. Small, firm blisters under about two inches that are not growing can often be monitored rather than repaired immediately. Larger blisters, ones near a seam, or ones that feel soft and spongy usually mean trapped moisture and need attention before they rupture.
Ponding Water
Modified bitumen roofs are typically flat or low-slope, which makes drainage a genuine design concern. Water that sits for more than 48 hours after rainfall is considered ponding, and it is a warning sign rather than a cosmetic issue. Standing water accelerates membrane degradation, adds real structural weight to the roof deck, and often points to a drainage design problem rather than a one-time fluke.
Punctures
Foot traffic during HVAC maintenance, dropped tools, and falling debris are the most common causes of punctures. A puncture creates an immediate, obvious path for water intrusion, which makes it one of the easier problems to spot but also one that needs prompt attention rather than monitoring.
Alligatoring and Cracking
Alligatoring describes a pattern of fine, interconnected cracks that resemble reptile skin, caused by UV exposure drying out and embrittling the asphalt over years of sun exposure. Unlike a single crack or split, alligatoring across a wide area often signals the membrane is nearing the end of its service life rather than suffering an isolated, repairable defect.
Flashing Failure
The flashing around vents, HVAC units, skylights, and roof edges is a different material system than the field membrane, and it fails differently — usually from sealant breakdown, corrosion, or movement at the joint between the flashing and the membrane. Flashing problems are easy to overlook during a casual inspection but are a common source of leaks that get misdiagnosed as membrane failure.
Signs You Need Modified Bitumen Roof Repair
Interior water stains or active drips, especially after rain
Blisters that are growing, soft, or located near a seam
Water pooling anywhere on the roof more than 48 hours after rainfall
Visible cracks, splits, or a widespread alligatoring pattern
Lifted, separated, or curling seams
Granule loss leaving bare, shiny patches on the membrane surface
Soft or spongy spots underfoot, which can indicate a saturated substrate beneath the membrane
How to Repair a Modified Bitumen Roof
The repair approach depends on the specific problem, but most fixes follow a similar sequence.
Inspect the Full Roof, Not Just the Obvious Spot
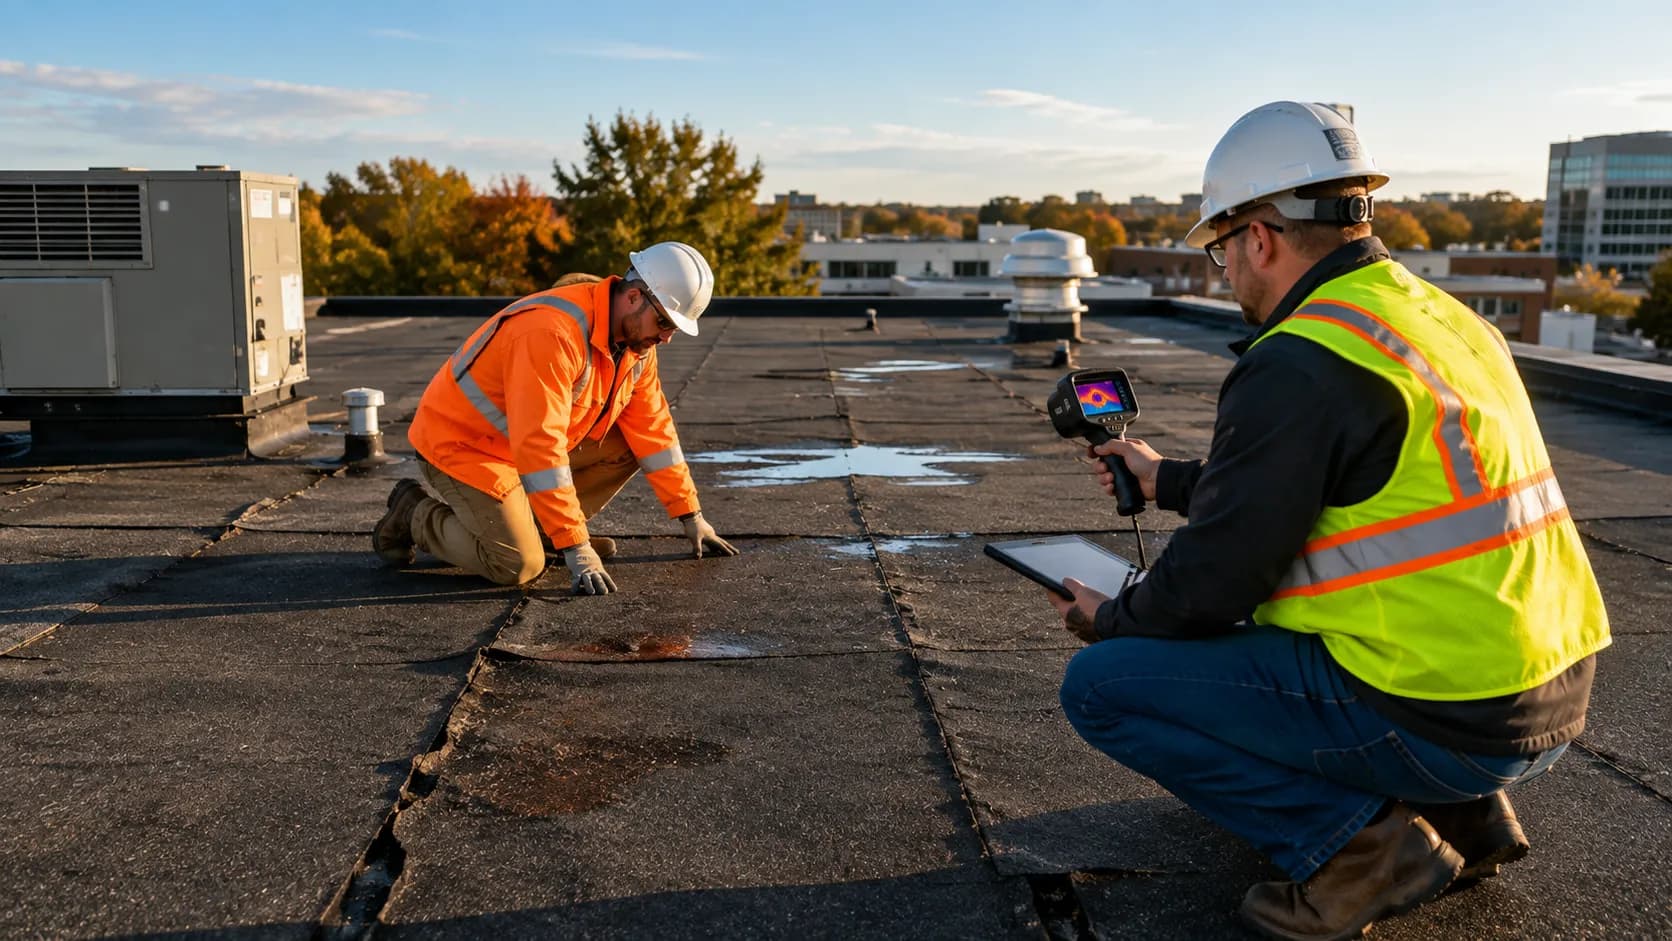
A visible leak inside the building does not always sit directly beneath the actual roof defect, since water can travel along the deck before dripping through. Walk the entire roof looking for blisters, ponding, cracks, and lifted seams, and check flashing around every penetration. Some roofing contractors use infrared thermography to spot trapped moisture that is not visible from the surface.
Clean the Damaged Area
Sweep away dirt, debris, and loose granules from the area you are repairing. If the membrane is stained or greasy, a mild detergent helps, but the surface needs to be completely dry before any repair material goes on — trapped moisture under a fresh patch just recreates the same problem.
Repair Blisters
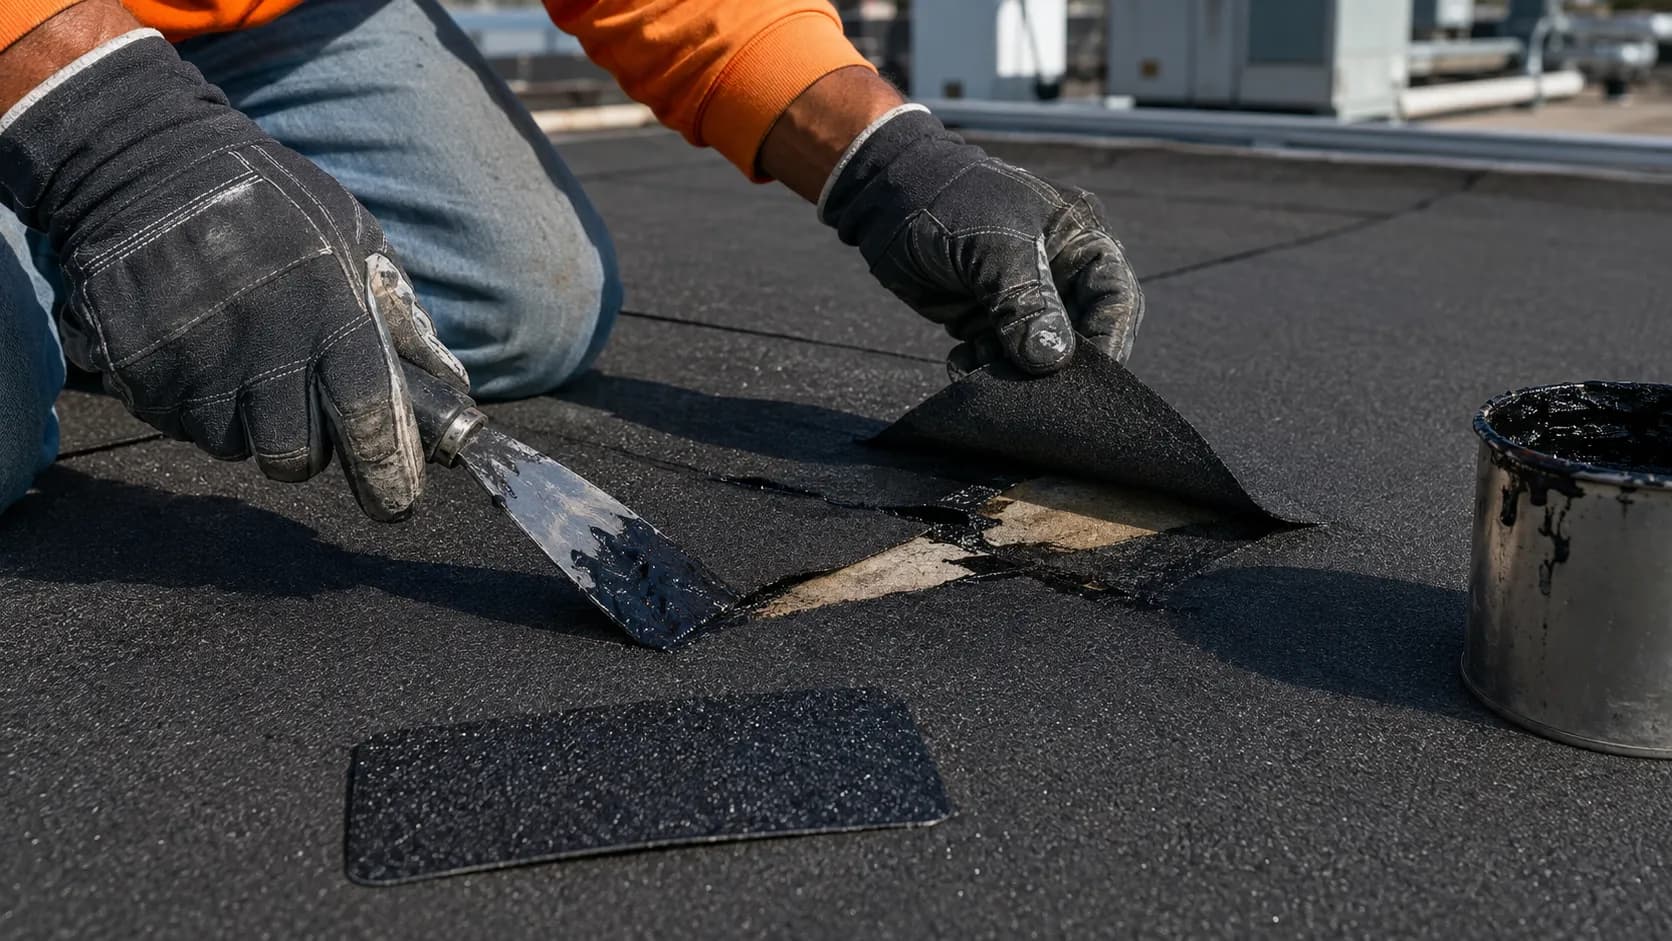
Cut an X-shape over the blister with a utility knife, fold back the flaps, and let the area dry out completely. Once dry, apply roofing cement underneath the flaps, press them back down, and cover the repair with a patch of compatible membrane material, sealed at the edges.
Repair Seams
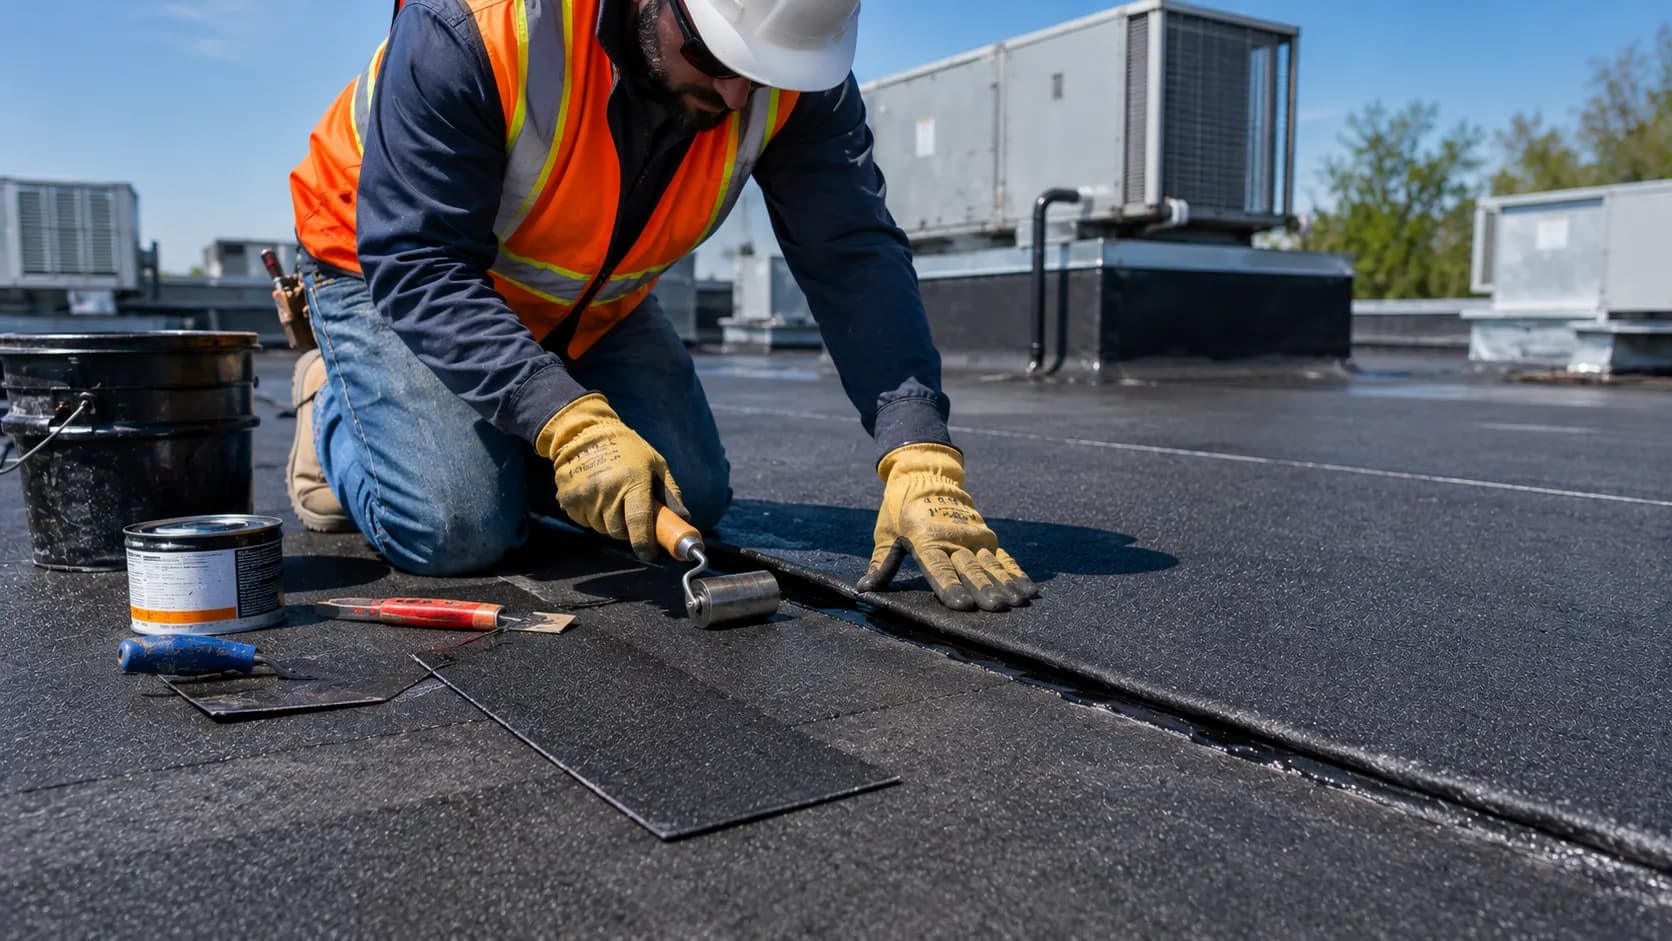
Clean out the separated seam, apply compatible lap cement or re-heat-weld the joint depending on the membrane type, and reinforce it with seam tape where needed. Because seam failure is the most common source of leaks on a modified bitumen roof, a proper reseal here matters more than almost any other repair on the roof.
Repair Cracks and Splits
Clean and fully dry the cracked area, then apply a fabric-reinforced bitumen coating or a roofing patch over the split. For alligatoring that covers a large section rather than an isolated crack, patching individual cracks becomes impractical, and a broader resurfacing or replacement is usually the more sensible option.
Address Punctures
Small punctures can be patched the same way as a crack — clean, dry, patch, and seal the edges. Larger punctures or ones near a seam should get the same reinforced patch treatment as a seam repair, since the surrounding material is often already under more stress.
DIY Repair vs. Calling a Professional
| Situation | Recommendation | Official Guideline & Data |
|---|---|---|
| Single small blister (< 2 inches) or minor crack | DIY possible (Cold-applied) | NRCA allows temporary cold-patching for minor surface defects. Open flames (torches) should never be used by DIYers. |
| Torch-applied (Heat-welded) repairs | Professional Required | OSHA & NRCA (CERTA training) strictly restrict open-flame roofing to certified professionals due to extreme fire and injury hazards. |
| Active leak with unknown origin | Professional Required | NRCA guidelines recommend professional infrared thermography or core testing to locate trapped moisture and prevent deck rot. |
| Widespread seam failure or alligatoring | Professional Required | Indicates systemic membrane failure. Professional assessment needed for resurfacing vs. replacement (Avg. repair cost: $300-$1,200 minimum). |
| Persistent ponding water (> 48 hours) | Professional Required | Building codes require positive drainage. Tapered insulation or new drain installation requires structural and plumbing expertise. |
| Roof under active manufacturer warranty | Professional Required | Performing unauthorized DIY repairs or using incompatible patches instantly voids most commercial roofing warranties. |
A repair that keeps failing in the same location is the clearest signal that the visible symptom is not the actual problem. Trapped moisture underneath the membrane, a structural drainage issue, or a much larger area of deteriorated material is usually the real cause — and patching the surface repeatedly will not fix it.
What Affects Modified Bitumen Roof Repair Cost
Exact repair costs vary too much by region, roof size, and contractor to quote a reliable number here, but a few factors consistently drive the price. The National Roofing Contractors Association (NRCA) and local licensed roofing contractors are the most reliable sources for region-specific cost benchmarks.
Size and number of repair areas
A single blister costs far less to fix than a roof with multiple seam failures spread across its surface.
Accessibility
Steep access, height, or obstructions around the roof increase labor time and cost significantly.
Membrane type and age
Matching repair materials to an older or discontinued membrane type can add cost and complexity.
Root cause investigation
Diagnosing a hidden moisture source, especially with infrared thermography, adds cost but prevents repeat failures.
Repair vs. resurfacing vs. replacement
Widespread damage often makes a broader resurfacing more cost-effective per square foot than patching dozens of individual spots.
Preventing Future Repairs
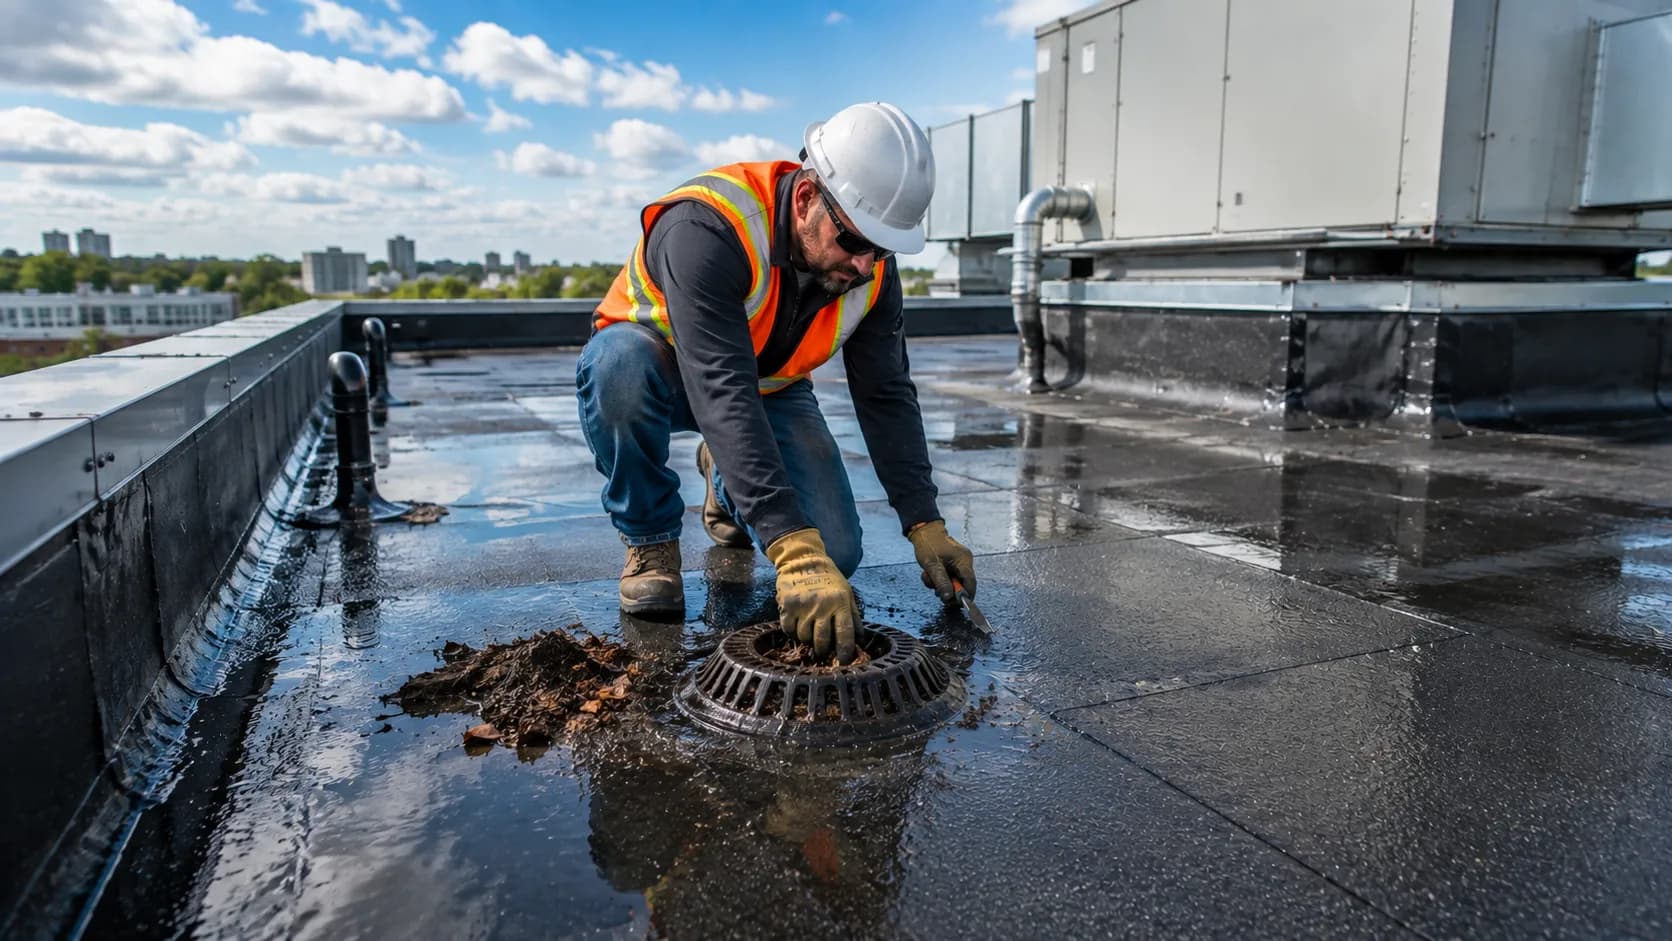
Regular maintenance is what actually keeps a modified bitumen roof out of repair cycles in the first place. For context on what material quality means for longevity, our guide on what bitumen is explains how polymer modification affects durability at a material level.
Inspect at least twice a year, and always after severe weather events like hail or high winds
Clear debris regularly — leaves and branches trap moisture against the membrane and accelerate degradation
Keep drains and gutters clear to prevent ponding water from developing in the first place
Address small issues immediately — a small crack or lifted seam is a simple fix; the same problem left for a year often is not
Track recurring problem areas — a spot that keeps failing after repair usually needs a root-cause fix, not another patch
How Long Do Modified Bitumen Roof Repairs Last?
A well-executed repair on an otherwise sound roof can last for years, effectively matching the remaining service life of the membrane around it. A well-maintained modified bitumen roof overall typically lasts 15 to 20 years, though skipped maintenance and unaddressed minor damage can shorten that closer to 10.
Repairs done on a roof already near the end of that range tend to be shorter-term fixes, since the surrounding membrane is aging at the same rate as the repaired section. At that stage, a full cost-benefit assessment of repair vs. replacement is usually more financially sensible than continued patching. Our Free Bitumen Calculator can help estimate material quantities if a larger resurfacing or replacement is on the table.
Related reading: For a broader look at bitumen grades and their properties, see Bitumen Grades Explained.
Summary
Most modified bitumen roof problems trace back to a handful of causes — failed seams, trapped moisture under blisters, ponding water, punctures, or UV-driven cracking — and most have a straightforward repair once correctly diagnosed. Small, isolated issues are reasonable DIY fixes; recurring failures, widespread seam problems, or persistent ponding are signs it is time to bring in a professional.
Regular inspection and prompt small repairs remain the cheapest way to avoid bigger ones later. For liquid-applied protection on exposed metal flashings, gutters, and penetrations around your roof, bituminous paint is a practical complement to membrane repairs. For industry standards and best practices on modified bitumen systems, the National Roofing Contractors Association (NRCA) publishes detailed guidance for roofing professionals and building owners alike.
Frequently Asked Questions
What is the most common cause of modified bitumen roof leaks?
Seam failure. The bonds between overlapping sheets weaken over time from heat cycling and UV exposure, creating a path for water even when the rest of the membrane looks intact.
How do I know if a blister needs to be repaired?
Small, firm blisters under about two inches that are not growing can often be monitored. Larger blisters, ones near a seam, or ones that feel soft or spongy indicate trapped moisture and should be repaired.
Is ponding water on a modified bitumen roof a serious problem?
Yes, if it lasts more than 48 hours after rain. Persistent ponding accelerates membrane wear and usually points to a drainage issue that needs addressing, not just the visible water itself.
Can I repair a modified bitumen roof myself?
Small, isolated issues like a single blister or minor crack are manageable DIY repairs with basic roofing tools. Widespread seam failure, recurring leaks, or roofs with multiple problem areas are better handled by a roofing professional.
How often should I inspect a modified bitumen roof?
At least twice a year, plus after any severe weather event like a hailstorm or high winds.
How long does a modified bitumen roof last?
Typically 15 to 20 years with regular maintenance. Without it, that lifespan can drop to around 10 years as small issues go unaddressed and compound.
What is the difference between repairing modified bitumen and other bitumen roofing?
The repair techniques are similar, but modified bitumen's polymer-enhanced membrane and heat-welded or adhesive seam systems call for compatible repair materials. For a broader look at bitumen-based roofing systems, see our general bitumen roofing and materials guides.

Founder & Web Developer
Nabeel Awan is a web developer and the founder of BitumenCalcPro. His work focuses on web development and building practical online tools, with a strong interest in civil engineering, asphalt, bitumen, pavement construction, and construction technology.